Love At First Kite!

Love At First KiteOur kiddos’ fascination with kites is ever expanding. And so the LOVE AT FIRST KITE project was a natural progression of their obsession.

We love this project because it’s simple, teaches shape and symmetry, and is super fun to display. We decorated our whole ceiling this way!

Grown ups do the prep. Start by folding a piece of construction paper in half along the width. Keep the newly folded edge on the left side. Then on the right side, pencil an X less than halfway down the page — usually about 8 inches from the bottom.

Go back to the left folded side and get your scissors ready! From the top left corner, cut diagonally to your X on the right. Then cut from your X to the bottom left corner. Now you should have 4 scrap paper triangles to toss.

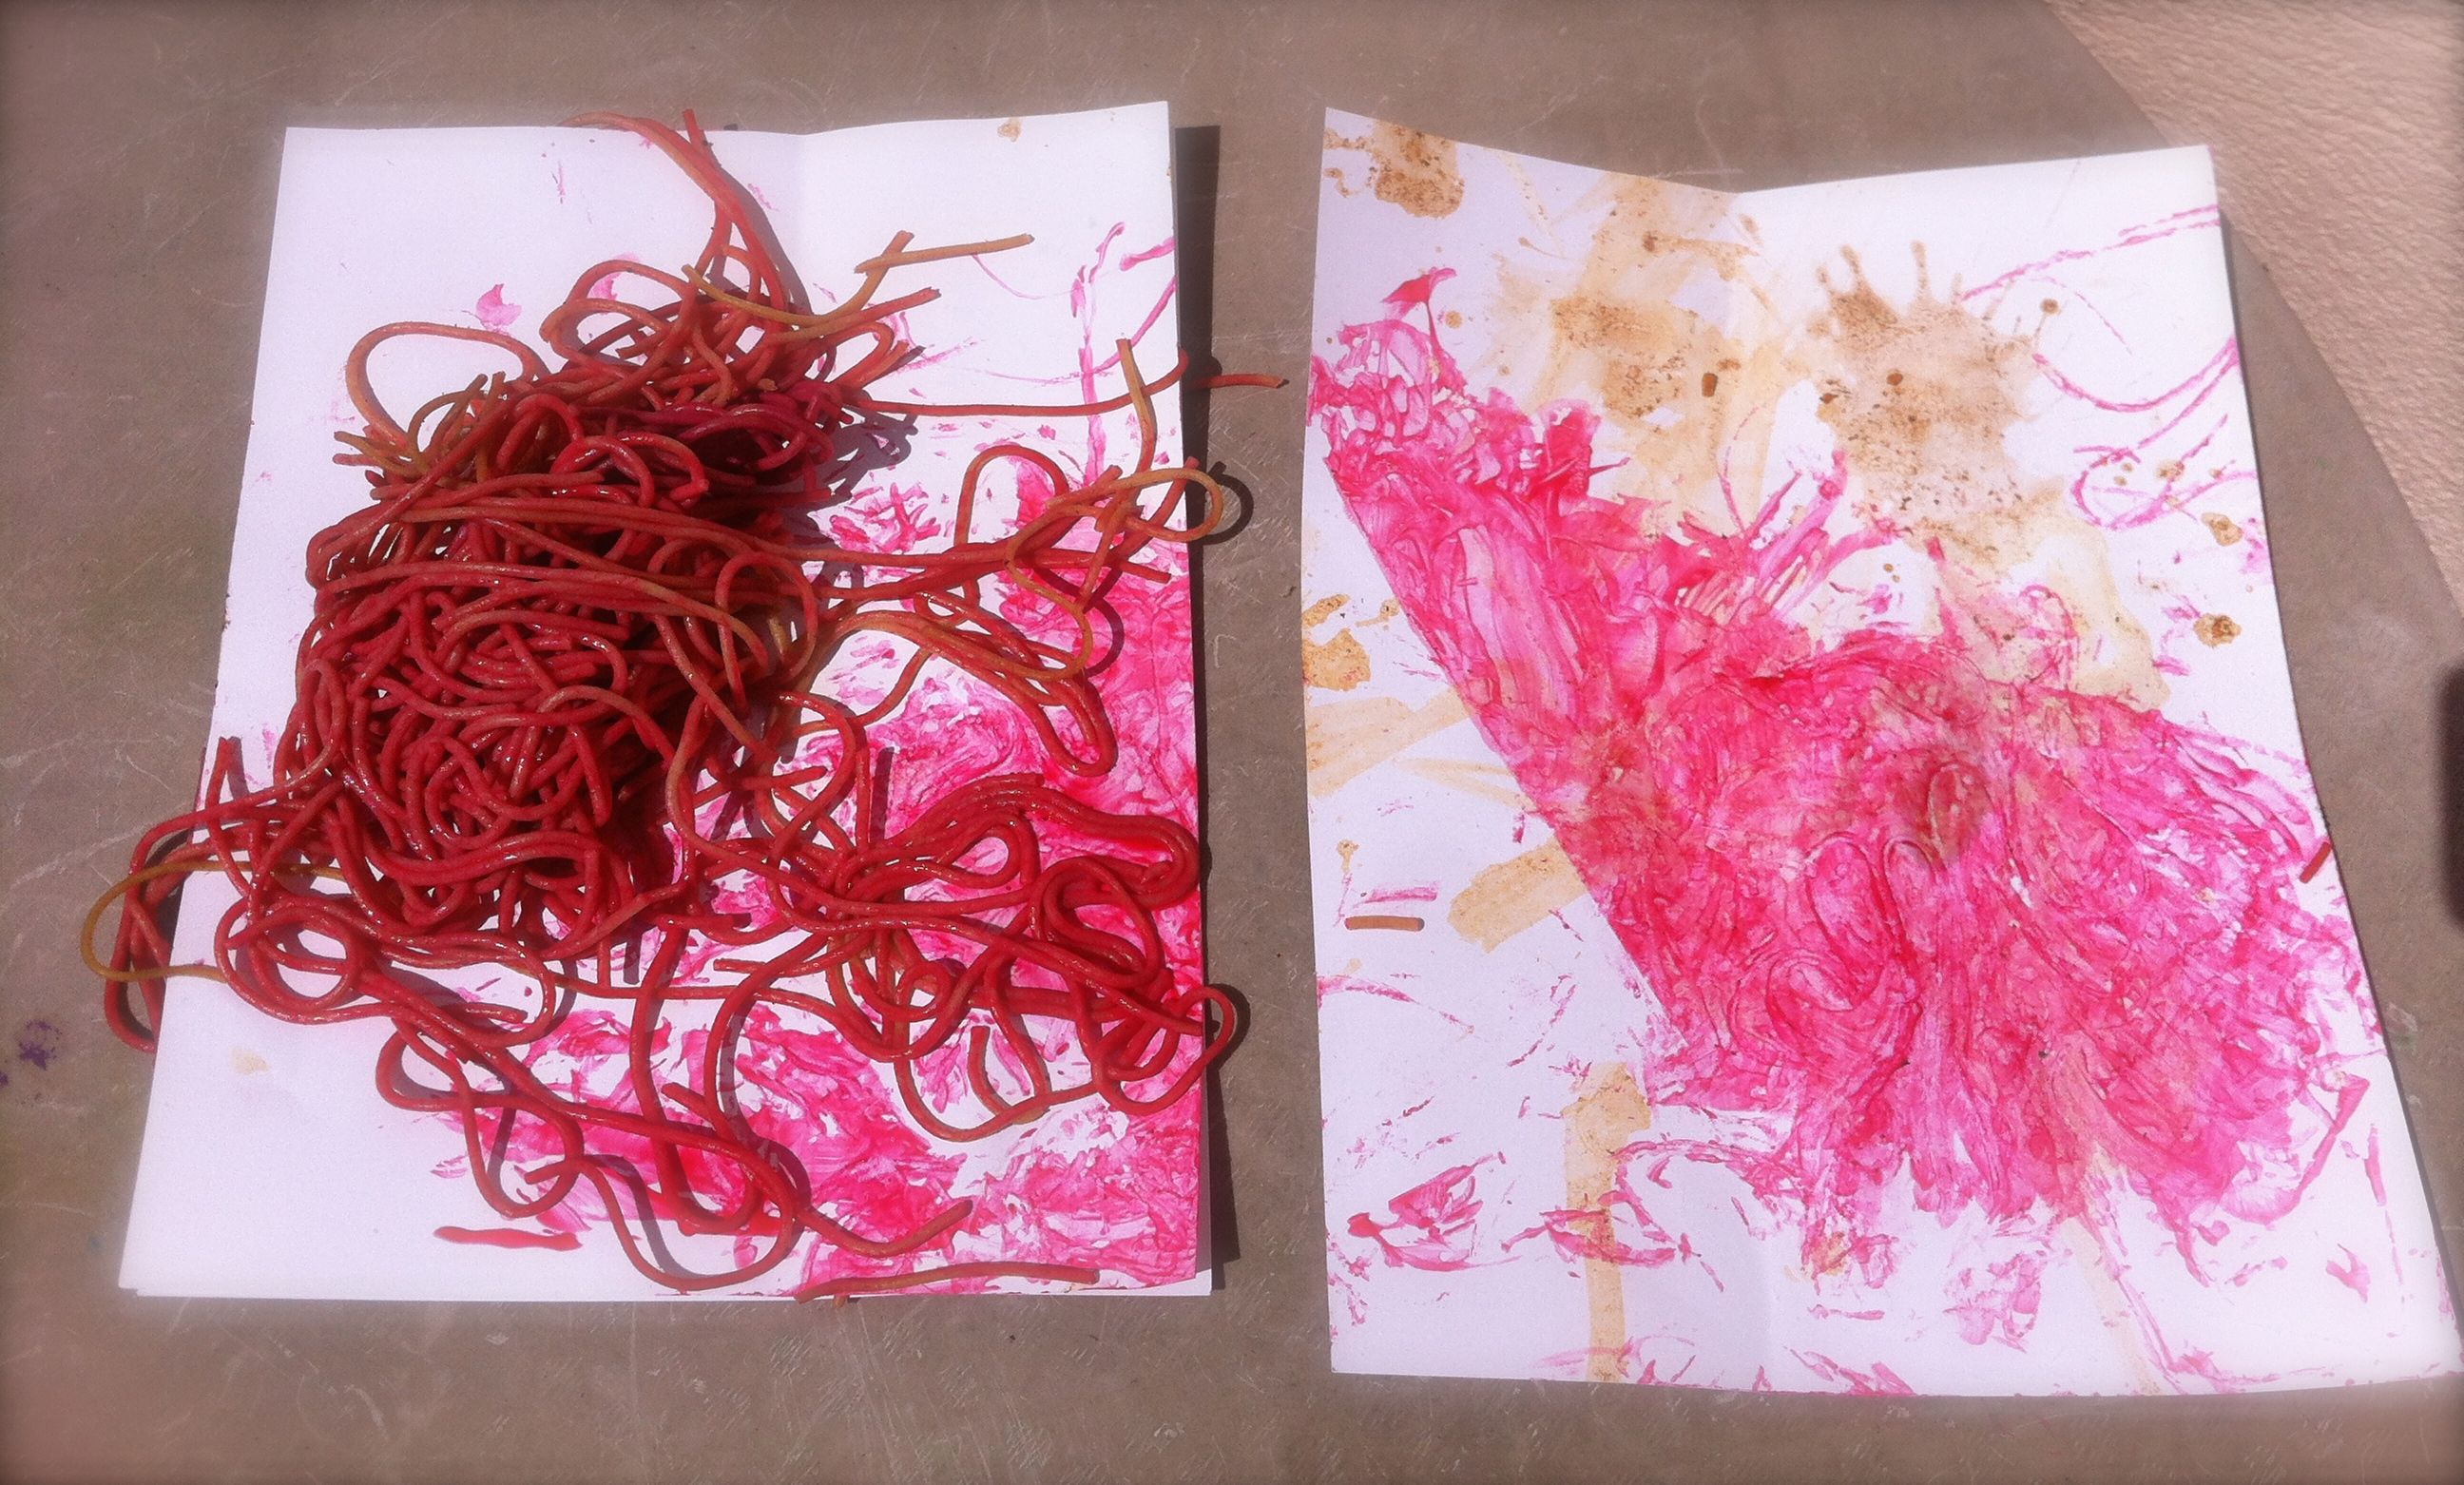
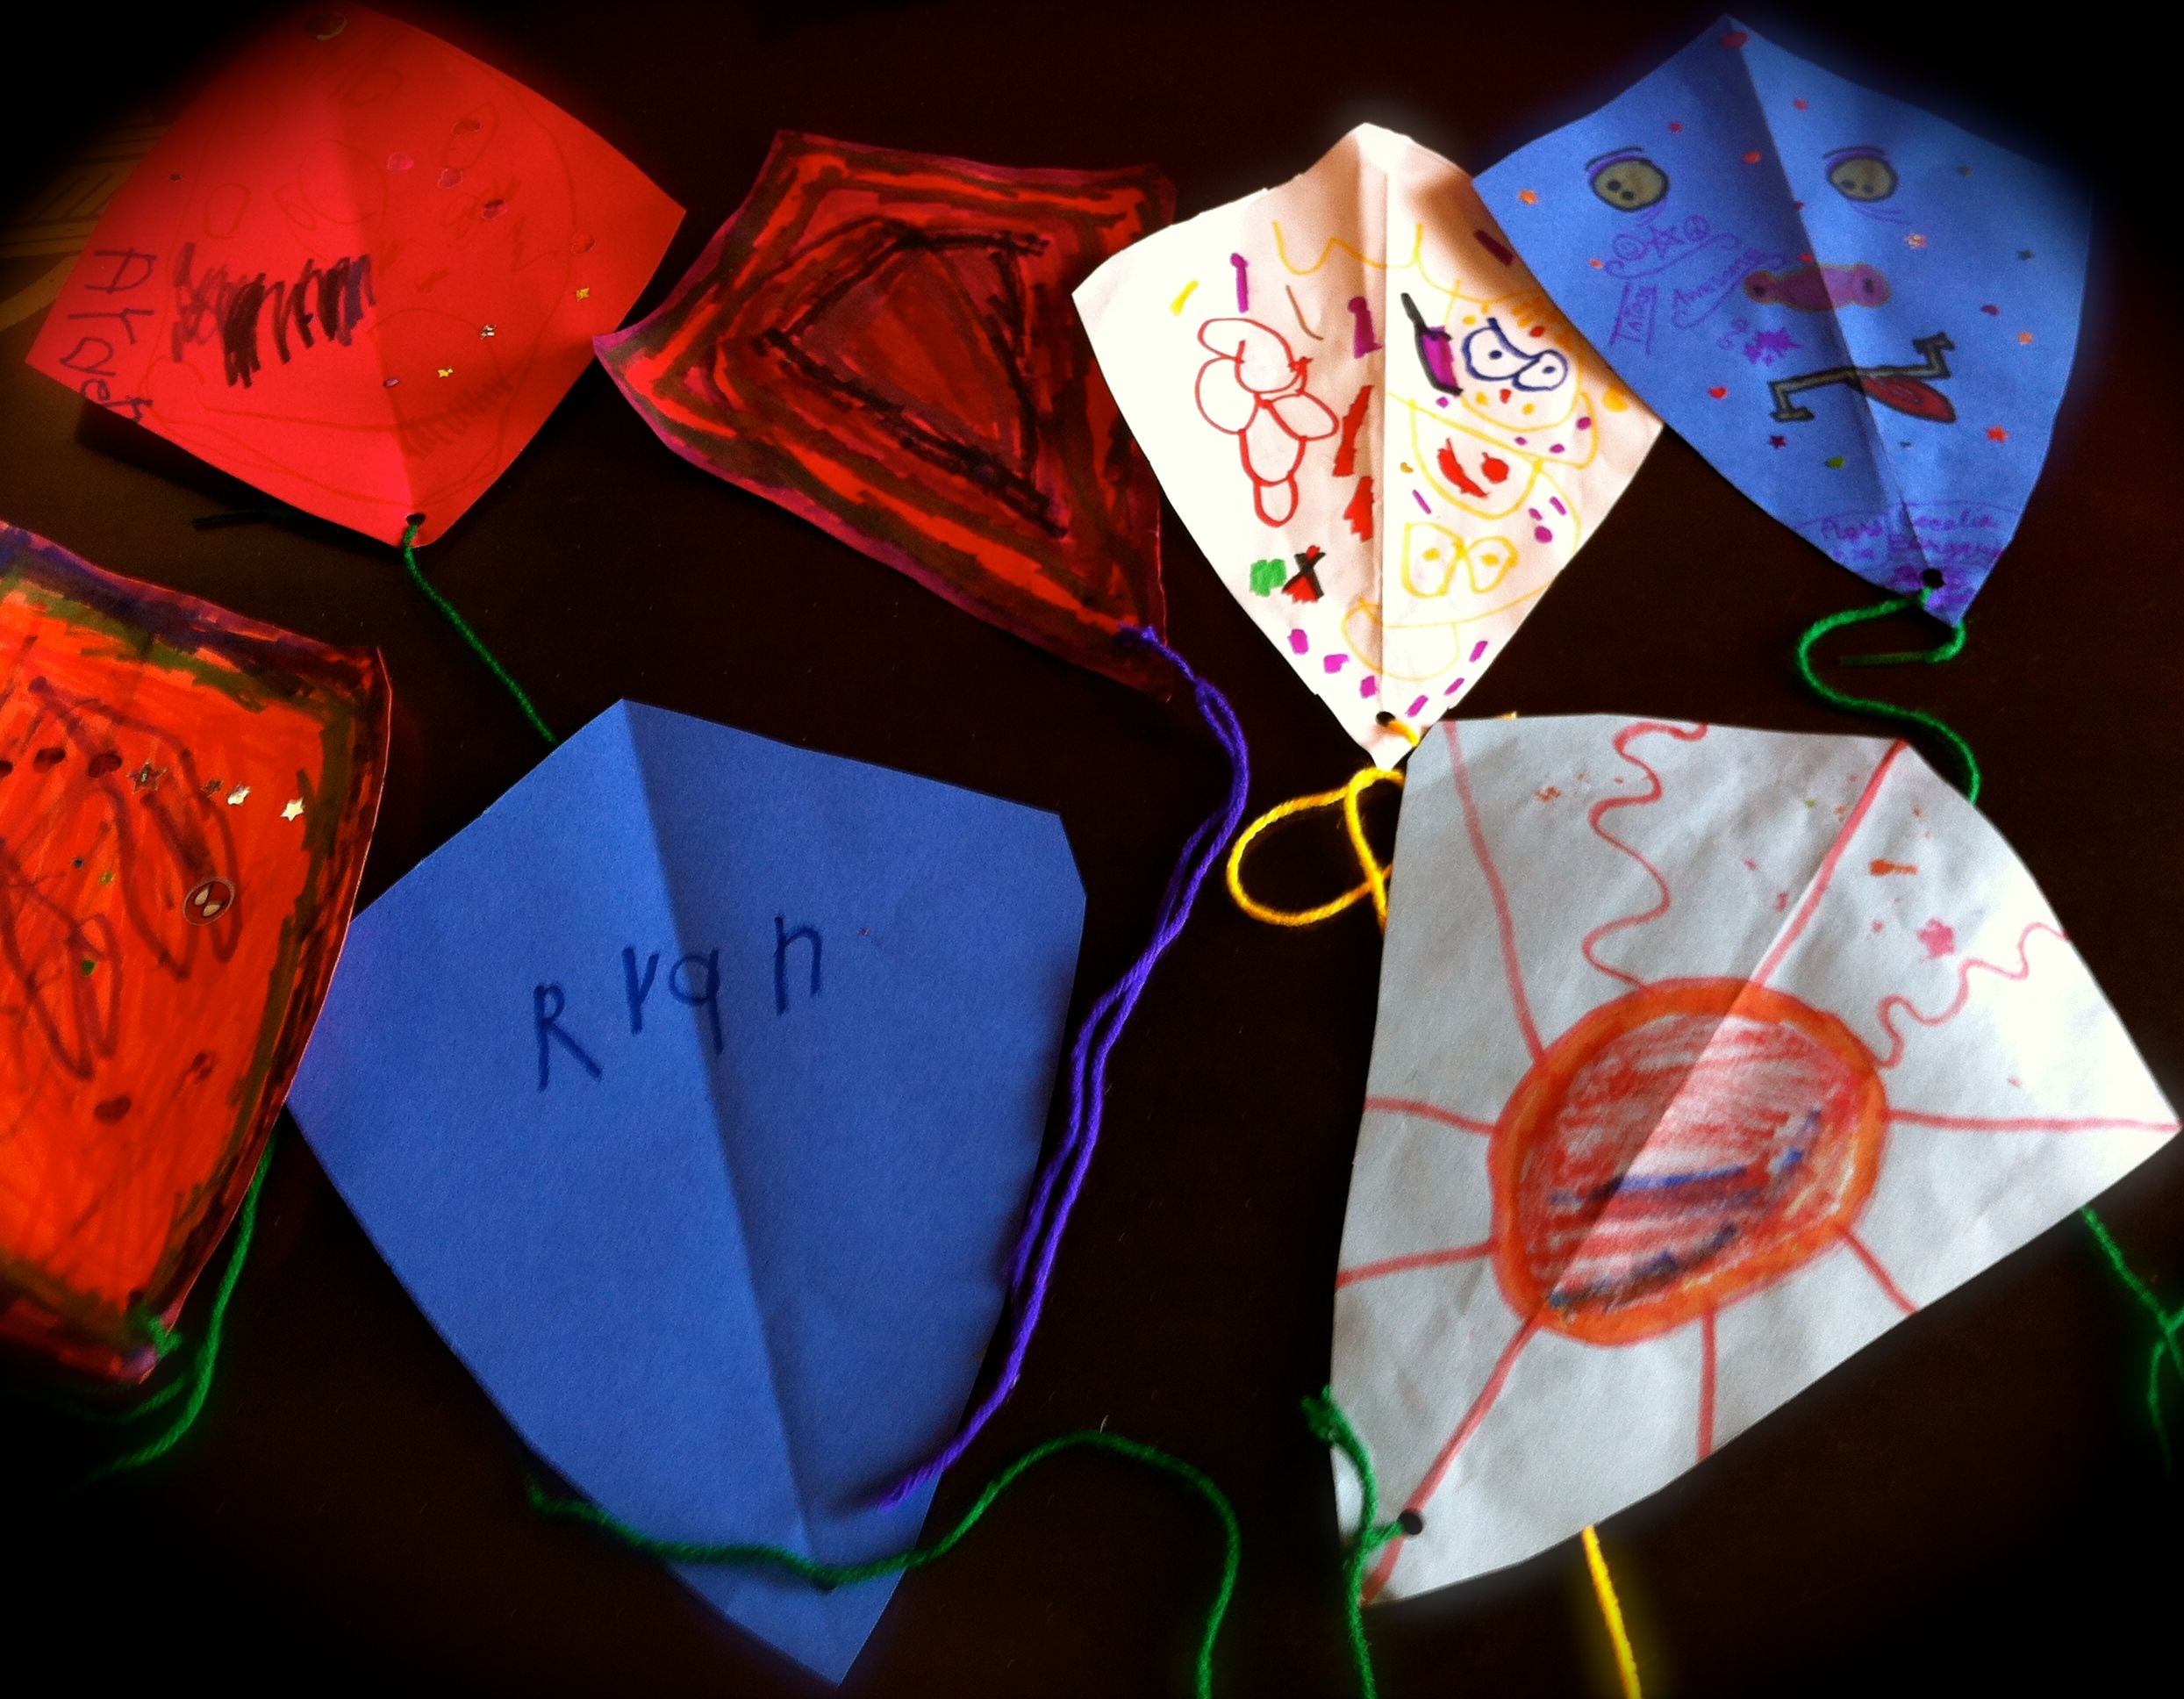
Open up your page and you’ve got a kite ready to decorate. Kids can use whatever inspires them — crayons, markers, glitter, or collage. For a simple symmetry lesson, you can even paint one half of your kite before folding it on top of the other half. Reopen it and voila! A symmetrical gem!

Lastly, don’t forget to punch a hole in the bottom and add some string. Now your kite is ready to take flight! Tape them up high in your little’s bedroom sky!

Handy Dandy Door Hangers

Handy Dandy Door HangersA recent hotel stay started our kiddos’ obsession with door knockers. Who knew that on, off, backwards, and upside down — they provided a lot of quiet amusement? Sometimes learning comes from the most unexpected places!

So while parents dream of a Do Not Disturb sign, littles can make their very own Handy Dandy Door Knockers!

Begin by leading your little to decorate the front and back of a paper plate. Don’t forget the round outer circle too. Bigger kids will love to write a special message on theirs as well. From “Come In” to “No Big Brothers Allowed!” Then use a hole puncher and string to get your door knocker ready for action!

Spaghetti Splatter Art!

Spaghetti Splatter ArtThis week we decided to take our art outside and soak up some August sun. If you’re ready to have some silly fun, try Spaghetti Splatter Art before the Summer is done!

A little leftover lunch and a few giant pieces of cardboard were our inspiration. You’ll need: cooked spaghetti, washable paint, and large paper.

First, encourage your little one to explore the slippery spaghetti hands on! How does it look, feel, smell, even taste?

Next, they can swirl the spaghetti strings around in different color paint. We chose a bright pink and a soft orange. You can even mix your own custom shades.

Now your kiddo can use their spaghetti as a silly paintbrush, whirling and twirling around the page. If you have a big enough canvas, toss or plop the spaghetti down too. This method makes for super modern splatter art and the best messy memories!

Pieces To Puppets

Pieces to Puppets

To make room for all the new mini masterpieces about to come our way this school year, we started sorting our Summer’s art work. But before tossing out our older projects, inspiration struck! PIECES TO PUPPETS helped us to turn this would-be chore into an awesome activity!


Start by looking through your little’s art together. What is your favorite part of the piece? Take your scissors and snip out what speaks the most to you!


Now it’s time to let your imagination run wild as you turn your artwork into a new friend! We gave our bitty boy some martian antennas and our swirly starfish a proper name. What will you add? Glitter, googly eyes, a super hero smile? For a final touch, glue a popsicle stick to the back of each piece. With creative kiddos, wonders never cease!